Blogs

At Western Wholesale, we understand the demands of the foodservice industry, and we’re proud to be a one-stop shop for all your food and kitchen needs in Barbados.
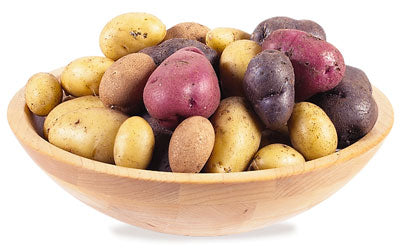
They're not always brown There are roughly 5,000 varieties of potato 2008 was the international...

Did it ever cross your mind why pasta comes in so many shapes and sizes?...

What Is Turmeric? Turmeric, a plant related to ginger, is grown throughout India, other parts of...

Did you resolve the cut back on salt? Or maybe you’re just looking for a...

Cooking is easier and faster with the right equipment. Stock your kitchen with these basics....