Blogs

Nachos - Before you melt the cheese on your tortilla chips, sprinkle some tuna (drained...

Fish is a low-fat high quality protein. Fish is filled with omega-3 fatty acids and...

Trying to find time in your busy schedule to make dinner is one thing. Trying...

Saves money Eating homemade foods is usually much cheaper than eating at a restaurant or...
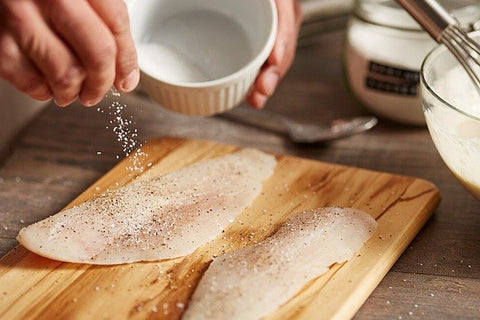
I think we’ve all been there: a new recipe or an unfamiliar cut of meat...